Don't
forget you can CLICK on a photo to view a larger image.
Go to January 2010
December 2010
- Lifting the cap. return to Latest News
|
|
|
|
|
|
|
|
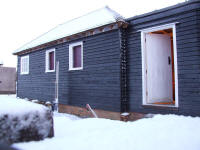
Granary boarding complete except for beneath the eves. |
|
(17th December 2010) |
|
|
|
|
|
|
|
|
|
|
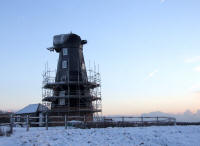
Snowed out again! |
|
(18th December 2010) |
|
|
|
|
|
|
November 2010
- Lifting the cap.
back to top of page
|
|
|
|
|
|
|
|
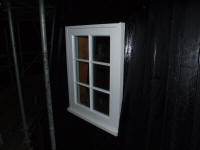
A finished tower window. |
|
(7th November 2010) |
|
|
|
|
|
|
|
|
|
|
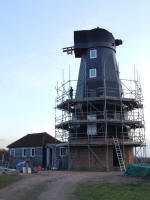
Bridget on the scaffolding making the mill seem large! |
|
(28th November 2010) |
|
|
|
|
|
|
|
|
|
|
|
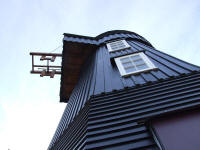
The difference between the upper vertical boarding and the lower horizontal boarding is clearly shown. |
|
(28th November 2010) |
|
|
|
|
|
|
|
|
|
|
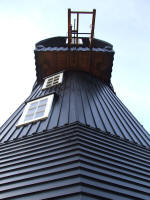
Here you can see the tower change from octagonal to round at the top. |
|
(28th November 2010) |
|
|
|
|
|
|
|
|
|
|
|
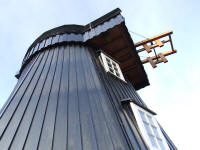
The gap between the petticoat of the cap and the tower is on average three inches. |
|
(28th November 2010) |
|
|
|
|
|
|
go to December 2010
October 2010
- Lifting the cap.
back to top of page
|
|
|
|
|
|
|
|
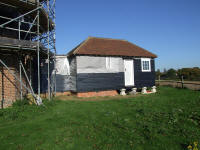
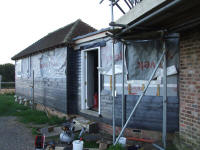
Waiting for the last couple of windows prior to finishing this side. |
|
(10th October 2010) |
|
|
|
|
|
|
|
|
|
|
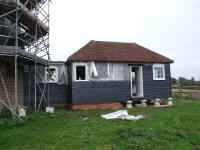
Meanwhile I could continue the front part of the boarding up to window sill height. |
|
(16th October 2010) |
|
|
|
|
|
|
|
|
|
|
|
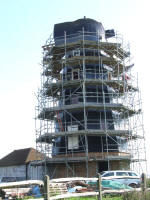
The last two back windows fitted. |
|
(29th October 2010) |
|
|
|
|
|
|
|
|
|
|
The rest of the tower windows were also being fitted. |
|
(8th October 2010) |
|
|
|
|
|
|
|
|
|
|
|
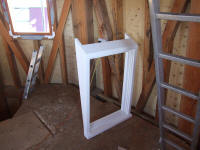
As the tower walls lean at an angle of eight degrees, the window frames include a small dormer portion. |
|
(8th October 2010) |
|
|
|
|
|
|
|
|
|
|
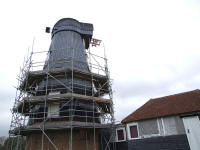
Scaffolding starting to come down at long last............... |
|
(17th October 2010) |
|
|
|
|
|
|
|
|
|
|
|
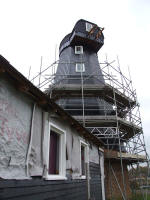
.....revealing the true shape of the mill. |
|
(17th October 2010) |
|
|
|
|
|
|
|
|
|
|
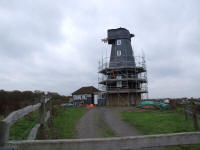
......and how different it starts to look. |
|
(17th October 2010) |
|
|
|
|
|
|
|
|
|
|
|
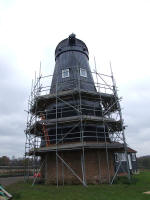
The front of the cap can now be fully appreciated. |
|
(17th October 2010) |
|
|
|
|
|
|
|
|
|
|
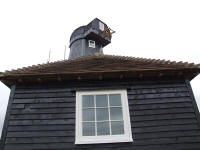
An rather interesting view of the mill rising above the granary. |
|
(17th October 2010) |
|
|
|
|
|
|
|
|
|
|
|
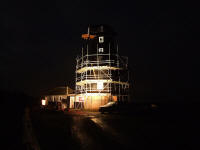
Nights drawing in, but still working............. |
|
(20th October 2010) |
|
|
|
|
|
|
|
|
|
|
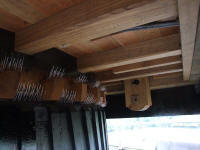
The bird spikes in place beneath the cap - these have proved very successful. |
|
(31st October 2010) |
|
|
|
|
|
|
go to November 2010
September 2010
- Lifting the cap.
back to top of page
|
|
|
|

|
|
|
|
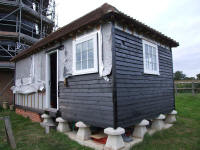
Things are never simple though as cutting the first boards around the staddle stones was a bit tricky! |
|
(12th September 2010) |
|
|
|
|
|
|
|
|
|
|
The last windows were just following ahead of the boarding. |
|
(19th September 2010) |
|
|
|
|
|
|
|
|
|
|
|
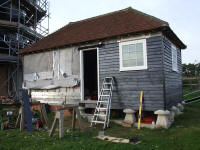
As each window was fitted I could complete the boarding around it. |
|
(22nd September 2010) |
|
|
|
|
|
|
go to October 2010
August 2010
- Lifting the cap.
back to top of page
|
|
|
|
|
|
|
|
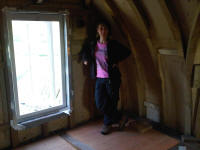
Bridget checking out the cap for size. |
|
(6th August 2010) |
|
|
|
|
|
|
|
|
|
|
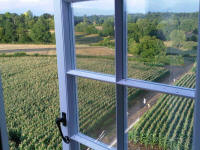
View from the cap rear window. |
|
(4th August 2010) |
|
|
|
|
|
|
|
|
|
|
|
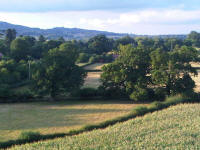
View towards Leith hill. |
|
(4th August 2010) |
|
|
|
|
|
|
|
|
|
|
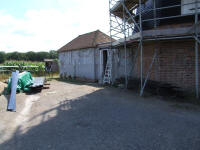
Now to weatherboard the granary....... |
|
(8th August 2010) |
|
|
|
|
|
|
|
|
|
|
|
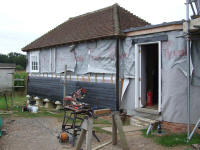
Thankfully this was much simplier than the cap. |
|
(21st August 2010) |
|
|
|
|
|
|
go to September 2010
July 2010
- Lifting the cap.
back to top of page
|
|
|
|
|
|
|
|
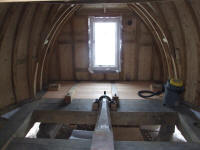
Inside the rear of the cap showing the completed boarding. |
|
(1st July 2010) |
|
|
|
|
|
|
|
|
|
|
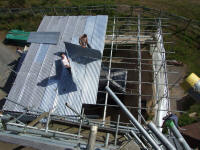
Removing the scaffold roof to reveal the cap. |
|
(3rd July 2010) |
|
|
|
|
|
|
|
|
|
|
|
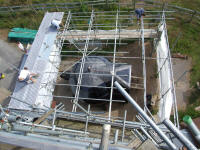
The cap can now be seen. |
|
(3rd July 2010) |
|
|
|
|
|
|
|
|
|
|
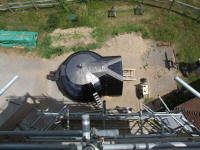
Scaffolding all gone and the extent of the lead flashing can be fully appreciated. |
|
(3rd July 2010) |
|
|
|
|
|
|
|
|
|
|
|
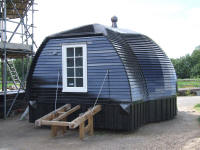
The finished cap viewed from the rear. |
|
(3rd July 2010) |
|
|
|
|
|
|
|
|
|
|
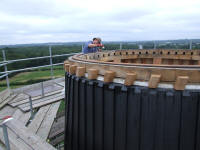
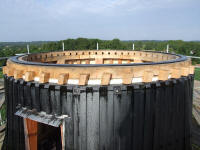
My brother Phil helped me remove the temporary flat roof and paint the steel ring on which the cap turns. |
|
(4th July 2010) |
|
|
|
|
|
|
|
|
|
|
|
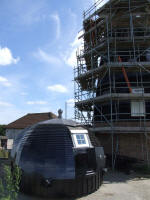
All painted and ready for the lift. |
|
(4th July 2010) |
|
|
|
|
|
|
|
|
|
|
The finished cap viewed from the front. |
|
(5th July 2010) |
|
|
|
|
|
|
|
|
|
|
|
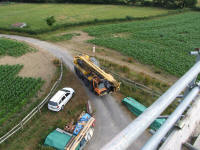
The crane arriving from Coussens of Bexhill. |
|
(5th July 2010) |
|
|
|
|
|
|
|
|
|
|
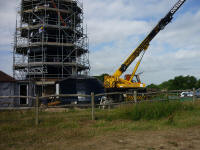
Extending the crane jib. |
|
(5th July 2010) |
|
|
|
|
|
|
|
|
|
|
|
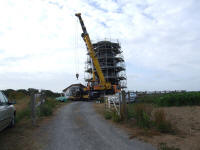
The crane jib now in position. |
|
(5th July 2010) |
|
|
|
|
|
|
|
|
|
|
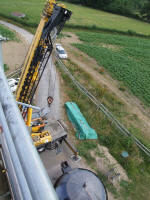
Fom the top of the tower. |
|
(5th July 2010) |
|
|
|
|
|
|
|
|
|
|
|
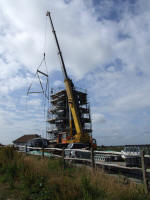
The lifting cradle being lowered....... |
|
(5th July 2010) |
|
|
|
|
|
|
|
|
|
|
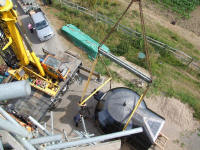
....into position around the cap. |
|
(5th July 2010) |
|
|
|
|
|
|
|
|
|
|
|
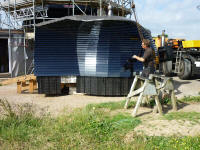
Paul Coussens was in charge of the lift. |
|
(5th July 2010) |
|
|
|
|
|
|
|
|
|
|
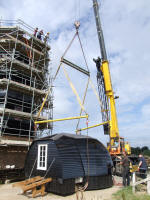
The lifting frame in position and fastened to the cap ready for lifting. |
|
(5th July 2010) |
|
|
|
|
|
|
|
|
|
|
|
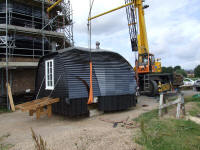
Taking up the strain........ |
|
(5th July 2010) |
|
|
|
|
|
|
|
|
|
|
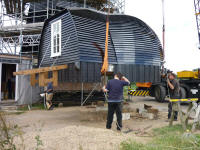
It took a couple of hours to fasten the lifting frame and adjust to get the cap level, but only 3 minutes to lift to the top of the mill! |
|
(5th July 2010) |
|
|
|
|
|
|
|
|
|
|
|
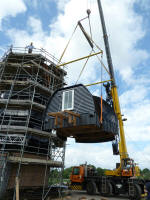
On it's way up...........
Photo by Phil James |
|
(5th July 2010) |
|
|
|
|
|
|
|
|
|
|
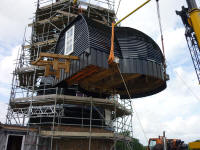
and up.......... |
|
(5th July 2010) |
|
|
|
|
|
|
|
|
|
|
|
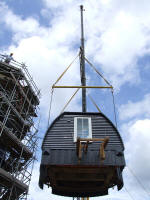
.......and up.......... |
|
(5th July 2010) |
|
|
|
|
|
|
|
|
|
|
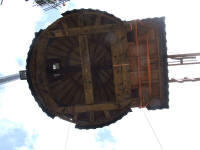
I quickly ran beneath the cap for this photo, but did not stay around too long! |
|
(5th July 2010) |
|
|
|
|
|
|
|

|
|
|
|
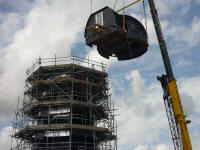
About 50 feet up and ready to move into position. |
|
(5th July 2010) |
|
|
|
|
|
|
|
|
|
|
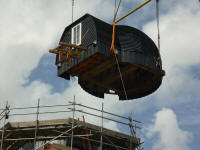
The sails are to point south west (into the prevailing winds) so the cap rotated accordingly. |
|
(5th July 2010) |
|
|
|
|
|
|
|
|
|
|
|
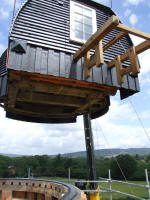
Edging slowly over the tower. |
|
(5th July 2010) |
|
|
|
|
|
|
|
|
|
|
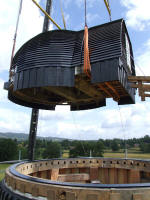
I had a mark inside the curb for rotational direction and small timbers protruding from the cap to align in position. |
|
(5th July 2010) |
|
|
|
|
|
|
|
|
|
|
|
Almost ready tyo lower..... |
|
(5th July 2010) |
|
|
|
|
|
|
|
|
|
|
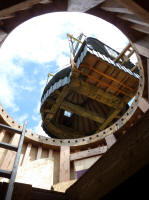
A rather interesting view from inside.
Photo by Phil James |
|
(5th July 2010) |
|
|
|
|
|
|
|
|
|
|
|
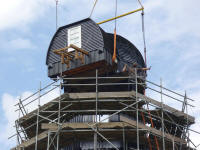
Lowering down...... |
|
(5th July 2010) |
|
|
|
|
|
|
|
|
|
|
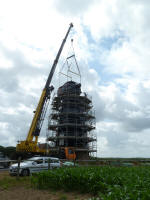
Still under tension for final adjustments.......
Photo by Phil James |
|
(5th July 2010) |
|
|
|
|
|
|
|
|
|
|
|
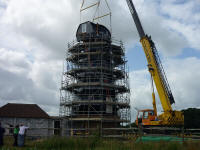
and still......... |
|
(5th July 2010) |
|
|
|
|
|
|
|
|
|
|
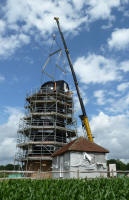
......in position at last!
Photo by Phil James |
|
(5th July 2010) |
|
|
|
|
|
|
|
|
|
|
|
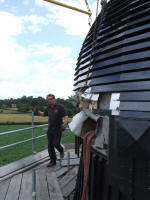
Paul up top having just removing the lifting chains and strops. |
|
(5th July 2010) |
|
|
|
|
|
|
|
|
|
|
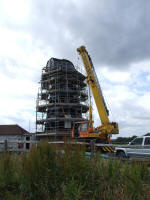
Packing up........ |
|
(5th July 2010) |
|
|
|
|
|
|
|
|
|
|
|
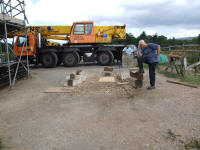
My brother Phil....well what can you say! |
|
(5th July 2010) |
|
|
|
|
|
|

|
|
|
|
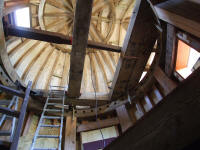
For the first time the view inside cap could be fully appreciated......... |
|
(6th July 2010) |
|
|
|
|
|
|
|
|
|
|
|
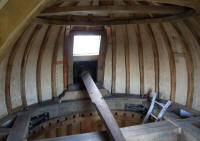
.....as I climbed the ladder up onto the top floor. |
|
(6th July 2010) |
|
|
|
|
|
|
|
|
|
|
The view inside the cap from 45 feet up! |
|
(16th July 2010) |
|
|
|
|
|
|
|
|
|
|
|
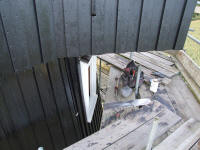
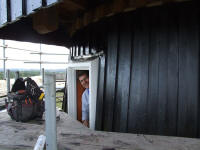
The remaining windows were now fitted into the tower............ |
|
(22nd July 2010) |
|
|
|
|
|
|
|
|
|
|
.............by David. |
|
(22nd July 2010) |
|
|
|
|
|
|
|

|
|
|
|
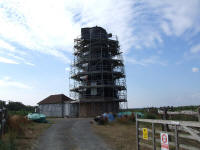
From within the field of maize. |
|
(23rd July 2010) |
|
|
|
|
|
|
|
|
|
|
...and from the track. |
|
(24th July 2010) |
|
|
|
|
|
|
|
|
|
|
|
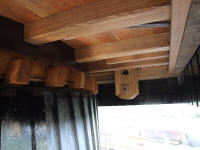
Looking beneath the back of the cap showing the bronze bearing in the oak hanger (to take the worm gear one day). |
|
(30th July 2010) |
|
|
|
|
|
|

|
|
|
|
Bridget making a start tarring the weatherboards for the granary. |
|
(26th July 2010) |
|
|
|
|
|
|
go to August 2010
June 2010
- Lead flashing the cap.
back to top of page
|
|
|
|
|
|
|
|
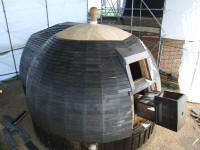
Boarding now complete around the storm hatch. |
|
(4th June 2010) |
|
|
|
|
|
|
|
|
|
|
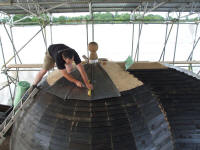
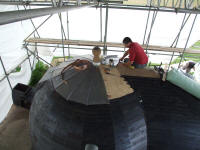
Paul making a start on the lead flashing. |
|
(8th June 2010) |
|
|
|
|
|
|
|
|
|
|
|
Each joint is double crimped. |
|
(12th June 2010) |
|
|
|
|
|
|
|
|
|
|
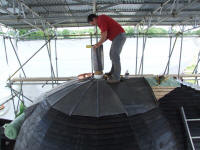
The first phase of the finial flashing is to fit a lead cylinder. |
|
(12th June 2010) |
|
|
|
|
|
|
|
|
|
|
|
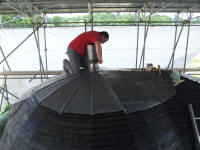
Then the lead is 'flowed' around the finial beating carefully. |
|
(12th June 2010) |
|
|
|
|
|
|
|
|
|
|
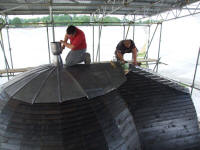
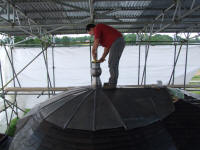
Taking shape........ |
|
(12th June 2010) |
|
|
|
|
|
|
|
|
|
|
|
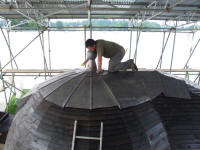
Nearly there........... |
|
(12th June 2010) |
|
|
|
|
|
|
|
|
|
|
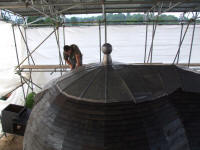
Finally the skirt at the base is welding on to cover and seal all joints. |
|
(14th June 2010) |
|
|
|
|
|
|
|
|
|
|
|
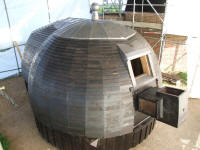
Trimming and folding the outer edges to finish. |
|
(14th June 2010) |
|
|
|
|
|
|
|
|
|
|
The completed flashing. |
|
(15th June 2010) |
|
|
|
|
|
|
|
|
|
|
|
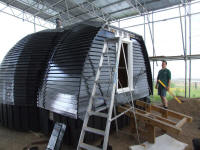
David fitting the rear window frame. |
|
(26th June 2010) |
|
|
|
|
|
|
|
|
|
|
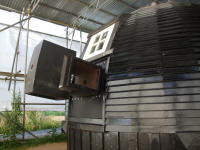
The storm hatch is actually oin the form of a window to let more light into the top floor. |
|
(30th June 2010) |
|
|
|
|
|
|
|
|
|
|
|
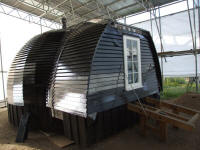
The completed rear window. |
|
(30th June 2010) |
|
|
|
|
|
|
go to July 2010
May 2010
- Boarding the cap.
back to top of page
|
|
|
|

|
|
|
|
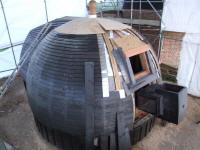
Due to the angle of the weatherboarding approaching the horizontal, the last part is covered in plywood prior to leading. |
|
(12th May 2010) |
|
|
|
|
|
|
|
|
|
|
Lead flashing taking shape around the storm hatch. |
|
(19th May 2010) |
|
|
|
|
|
|
|
|
|
|
|
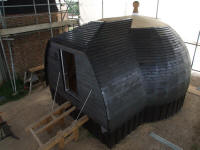
Boarding finished and ready for the top lead flashing. |
|
(23rd May 2010) |
|
|
|
|
|
|
|
|
|
|
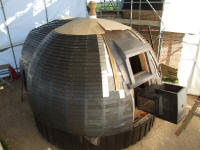
Lead flashing to storm hatch complete. |
|
(23rd May 2010) |
|
|
|
|
|
|
go to June 2010
April 2010
- Boarding the cap.
back to top of page
|
|
|
|
|
|
|
|
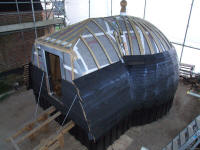
Over half way.......... |
|
(11th April 2010) |
|
|
|
|
|
|

|
|
|
|
The storm hatch complete and awaiting lead flashing. |
|
(11th April 2010) |
|
|
|
|
|
|
|
|
|
|
|
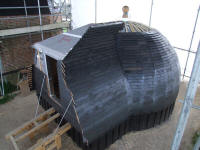
Sides almost finished......... |
|
(25th April 2010) |
|
|
|
|
|
|
go to May 2010
March 2010
- Boarding the cap.
back to top of page
|
|
|
|
|
|
|
|
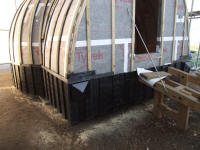
The first row of weatherboarding is to 'kick-off' the boards at the correct angle and to make them clear the petticoat boarding. |
|
(2nd March 2010) |
|
|
|
|
|
|
|
|
|
|
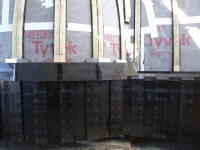
The first full row of weatherboarding - each layer is made up of 22 seperate boards! |
|
(7th March 2010) |
|
|
|
|
|
|
|
|
|
|
|
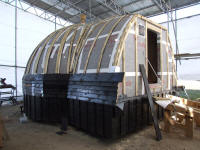
Developing a technique now.......... |
|
(14th March 2010) |
|
|
|
|
|
|
|
|
|
|
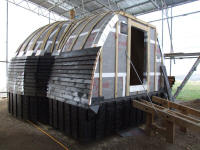
Half way up! |
|
(24th March 2010) |
|
|
|
|
|
|
|

|
|
|
|
Framing out the detail of the storm hatch at the front of the cap. |
|
(30th March 2010) |
|
|
|
|
|
|
|
|
|
|
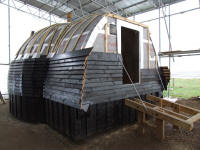
The rear and other side being brought up to the same height. |
|
(31st March 2010) |
|
|
|
|
|
|
go to April 2010
February 2010
- The cap petticoat.
back to top of page
|
|
|
|
|
|
|
|
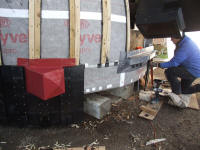
Front left hand flashing to shear end (in red). |
|
(6th February 2010) |
|
|
|
|
|
|
|
|
|
|
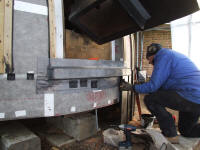
David fitting the petticoat boarding. |
|
(6th February 2010) |
|
|
|
|
|
|
|
|
|
|
|
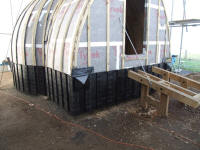
Petticoat boarding finished. |
|
(6th February 2010) |
|
|
|
|
|
|
go to March 2010
January 2010
- The cap petticoat.
back to top of page
|
|
|
|

|
|
|
|
Skirt at rear awaiting leadwork at corners. |
|
(3rd January 2010) |
|
|
|
|
|
|
|
|
|
|
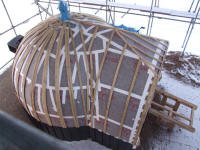
Cap from above |
|
(8th January 2010) |
|
|
|
|
|
|
|
|
|
|
|
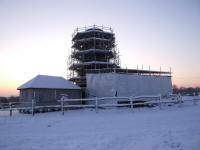
Snowed out! |
|
(8th January 2010) |
|
|
|
|
|
|
|
|
|
|
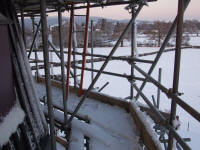
Snow everywhere! |
|
(8th January 2010) |
|
|
|
|
|
|
|
|
|
|
|
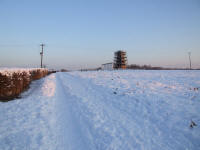
Do I really need a four wheel drive? |
|
(8th January 2010) |
|
|
|
|
|
|
|
|
|
|
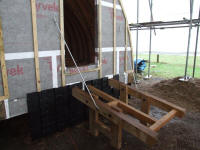
Rear tie bars in place to support striking frame. |
|
(16th January 2010) |
|
|
|
|
|
|
|
|
|
|
|
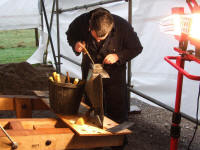
Paul Harrod (Leadwork Contractor) making up the flashing for the rear right hand shear end. |
|
(22nd January 2010) |
|
|
|
|
|
|
|
|
|
|
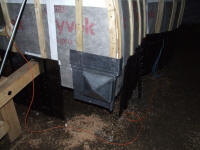
The lead flashing in place. |
|
(23rd January 2010) |
|
|
|
|
|
|
|
|
|
|
|
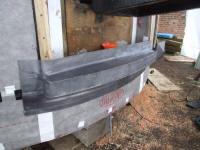
The front sill lead flashing in place. |
|
(23rd January 2010) |
|
|
|
|
|
|
|
|
|
|
Tee rear left hand flashing and petticoat boarding finished at rear. |
|
(24th January 2010) |
|
|
|
|
|
|
go to February 2010
return to Latest News