Don't
forget you can CLICK on a photo to view a larger image.
Go to January 2012
September
2012
|
|
|
|
|
|
|
|
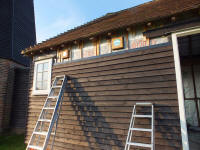
The second vent was fitted; this time for the oven hood extractor. I was now ready to re-fit the weatherboarding. |
|
(3rd September 2012) |
|
|
|
|
|
August
2012
return to Latest News
|
|
|
|
|
|
|
|
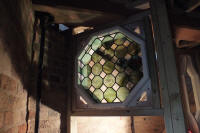
The coloured glass panel above the door to the stairs on the ground floor. |
|
(31st August 2012) |
|
|
|
|
|
|
|
|
|
|
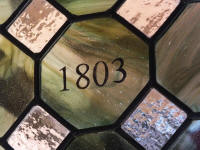
This commemorates the original build date............. |
|
(31st August 2012) |
|
|
|
|
|
|
|
|
|
|
|
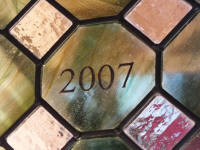
......and the start of the rebuild. |
|
(31st August 2012) |
|
|
|
|
|
|
|
|
|
|
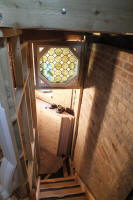
As viewed down the staircase. |
|
(31st August 2012) |
|
|
|
|
|
|
|
|
|
|
|
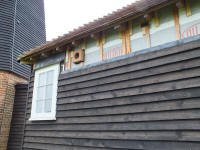
Installing the boiler flue vent; I had only screwed on some of the weatherboards pending establishing the vent positions. |
|
(31st August 2012) |
|
|
|
|
|
|
go to September 2011
July 2012
back to top of page
|
|
|
|
|
|
|
|
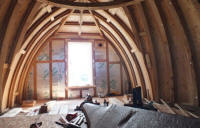
Insulation complete to the rear wall of the cap. |
|
(14th July 2012) |
|
|
|
|
|
|
|
|
|
|
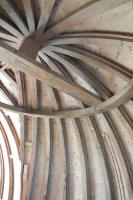
It was a very fiddly and time consuming job fitting all the battens as many had to have relieving saw cuts to enable them to bend. |
|
(14th July 2012) |
|
|
|
|
|
|
|
|
|
|
|
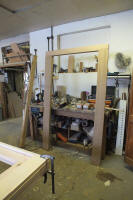
The frame for the door in the mill base taking shape in David's workshop. |
|
(20th July 2012) |
|
|
|
|
|
|
|
|
|
|
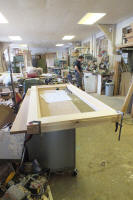
This door frame is somewhat larger than usual and will accomodate a double skinned door - opening shutter on the outside with glazed door inside. |
|
(20th July 2012) |
|
|
|
|
|
|
go to August 2011
June
2012
back to top of page
|
|
|
|
|
|
|
|
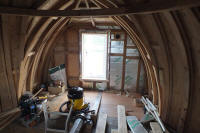
Insulating the rear wall of the cap. |
|
(8th June 2012) |
|
|
|
|
|
|
|
|
|
|
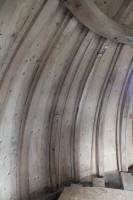
Slim battens were fitted either side of each rafter to allow for the plasterboard to be recessed and hence keep the rafters exposed. |
|
(8th June 2012) |
|
|
|
|
|
|
|
|
|
|
|
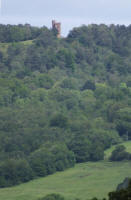
View to Leith hill tower from the fourth floor window - just where my desk will be! |
|
(8th June 2012) |
|
|
|
|
|
|
go to July 2011
May
2012
back to top of page
|
|
|
|
|
|
|
|
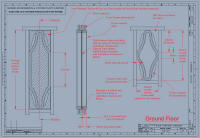
Detailed drawing of the fire-rated stair wall windows.
|
|
(Drawn on AutoCAD LT97) |
|
|
|
|
|
|
|
|
|
|
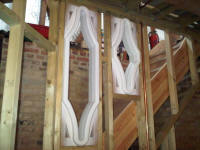
These windows will let a little extra light from the window above into the dining room on the ground floor. |
|
(5th May 2012) |
|
|
|
|
|
|
|
|
|
|
|
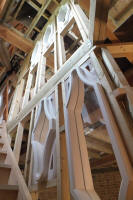
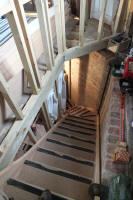
Looking up the stairwell you can see similar windows opening out onto the first floor. |
|
(8th May 2012) |
|
|
|
|
|
|
|
|
|
|
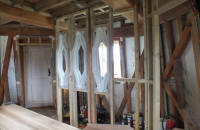
Looking back down to the windows which open out onto the ground floor. |
|
(8th May 2012) |
|
|
|
|
|
|
|
|
|
|
|
The first floor windows in the side of the stairwell; iroko frames and fire resistant glass was used. |
|
(8th May 2012) |
|
|
|
|
|
|
go to June 2011
April
2012
back to top of page
|
|
|
|
|
|
|
|
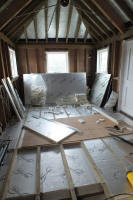
The top layer of the floor insulation being layed in the granary. |
|
(8th April 2012) |
|
|
|
|
|
|
|
|
|
|
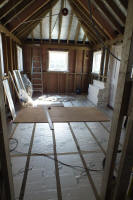
The granary floor insulation complete. |
|
(14th April 2012) |
|
|
|
|
|
|
|
|
|
|
|
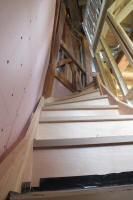
Looking up the staircase to the fourth floor with the ballustrades just coming into view. |
|
(20th April 2012) |
|
|
|
|
|
|
|
|
|
|
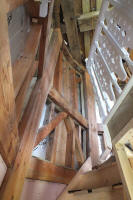
Nearing the top............ |
|
(20th April 2012) |
|
|
|
|
|
|
|
|
|
|
|
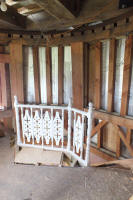
We will probably paint the ballustrades a bit darker so as to blend in more with the considerably exposed timberwork on this floor. |
|
(20th April 2012) |
|
|
|
|
|
|
go to May 2011
March
2012
back to top of page
|
|
|
|
|
|
|
|
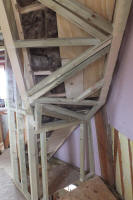
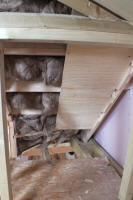
The complicated stud work beneath the top staircase is many faceted as it winds around the tower. |
|
(10th March 2012) |
|
|
|
|
|
|
|
|
|
|
This shows the acoustic insulation and one of the service boards covering it up. |
|
(10th March 2012) |
|
|
|
|
|
|
|
|
|
|
|
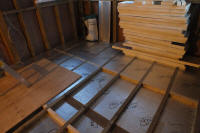
The first layer of the granary floor insulation is complete. |
|
(22nd March 2012) |
|
|
|
|
|
|
go to April 2011
February
2012
back to top of page
|
|
|
|
|
|
|
|
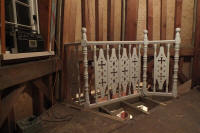
The comnpleted balustrade on the fourth floor. |
|
(4th February 2012) |
|
|
|
|
|
|
|
|
|
|
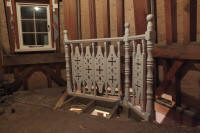
.......and from the top of the stairs. |
|
(4th February 2012) |
|
|
|
|
|
|
|
|
|
|
|
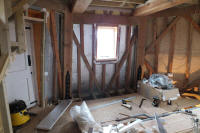
Starting to insulate the last floor in the tower. |
|
(24th February 2012) |
|
|
|
|
|
|
|
|
|
|
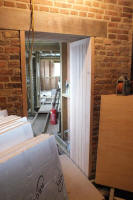
The cock-beaded panels lining the brickwork in the doorway out to the hall. |
|
(24th February 2012) |
|
|
|
|
|
|
go to March 2011
January
2012
back to top of page
|
|
|
|
|
|
|
|
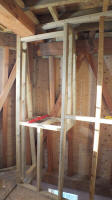
The airing cupboard in the bathroom, built over the stairwell. |
|
(16th January 2012) |
|
|
|
|
|
|
|
|
|
|
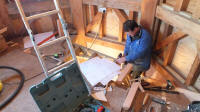
David completing the floor joisting out to the edge of the stairwell on the fourth floor. |
|
(16th January 2012) |
|
|
|
|
|
|
|
|
|
|
|
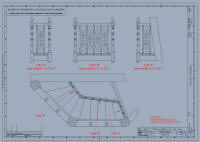
Detailed drawing of the ballustrade to be fitted on the fourth floor. |
|
(Drawn on AutoCAD LT97)
|
|
|
|
|
|
|
|
|
|
|
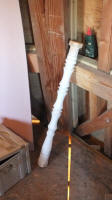
A completed newel post; these are symbolic with the windmill at the bottom, grooves for each floor and finally the finial (from the top of cap). |
|
(16th January 2012) |
|
|
|
|
|
|
|
|
|
|
|
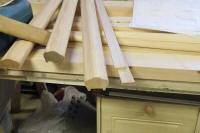
The machined handrail copied from our Edwardian one at home. |
|
(19th January 2012) |
|
|
|
|
|
|
|
|
|
|
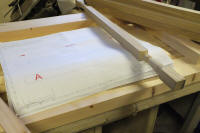
One of the stair spindles, again with a representation of the windmill at the top and bottom. |
|
(19th January 2012) |
|
|
|
|
|
|
|
|
|
|
|
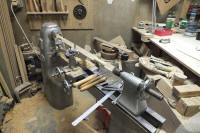
David turned all of the spindles and newel posts in his workshop. |
|
(19th January 2012) |
|
|
|
|
|
|
|
|
|
|
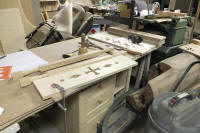
In between each spindle is a decorated partition (to give a sense of the ballastrades providing a wall). |
|
(24th January 2012) |
|
|
|
|
|
|
|
|
|
|
|
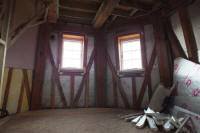
The insulation gathering momentum on the third floor. |
|
(28th January 2012) |
|
|
|
|
|
|
|
|
|
|
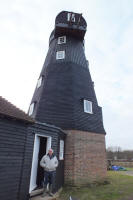
Ollie Coldman one of the decendants of the original builders' and subsequent millers' of the windmill. |
|
(23rd April 2012) |
|
|
|
|
|
|
go to February 2011
return to Latest News